How to recycle old broken crayons into new crayons
Published 2025-12-17 · Last reviewed July 2026
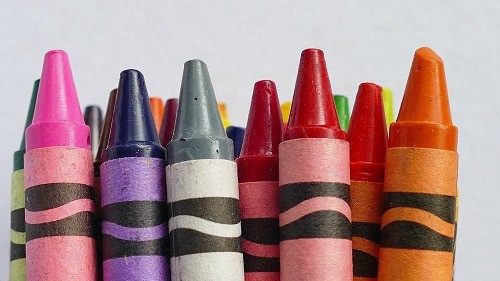
Crayons are a great way for children to express their creativity. An unfortunate side effect of crayon use is that you will accumulate many pieces of broken crayon that are simply too small to use.
So what can you do with these broken crayons? It may surprise you that you can create new crayons from old broken crayons with materials found around the house.
The Crayon recycling process
Materials needed
- Bucket
- Muffin Pan (mini muffin pans work great)
- Wax crayons
- Oven or microwave
Once you have the materials all sorted it is time to jump head first into the process of recycling crayons.
Peeling wrappers from crayons
Peeling crayon wrappers by hand will leave you with small difficult to remove pieces of crayon under your fingernails. Not fun. So here is where I let you in on my little secret to easily peel crayons.
While crayons are made from water-repelling wax, the wrappers themselves are simply made from paper. Soaking the pieces of crayon in a bucket of water for 20 minutes will allow you to remove even the most stubborn of crayon wrappers without difficulty.
With the wrappers removed, leave the crayons to dry or use an old towel to remove excess water.
Arrange crayons pieces in muffin tin
The next task is to arrange your crayons into the muffin pan. Your new crayons will take on the shape of the muffin pan mold. You can make fun crayon shapes by using a themed muffin mold such as insects or flowers.
Organize your crayons into each section of the muffin pan according to color, keeping like colors together. This will result in your finished crayons being uniform in color.
If your crayons will not comfortably into each cup, break them into smaller pieces using a knife. You want to make sure each muffin cup is at least half full, otherwise, the finished crayon will be brittle and break easily.
If you have leftover crayons that don't match up you can combine them into a single muffin circle to make a rainbow crayon.
Heating the Crayon wax
Heating the crayon in the oven
Preheat your oven to 300F before baking your crayon filled tray for 15 minutes or until the wax has completely melted
Heating the Crayon wax
Heating crayon wax in a microwave
Microwave on high for two minutes, stir each section with a toothpick before further microwaving until completely melted. Do not place metal pans in the microwave, this method is for silicon pans only.
Once your wax has melted, leave the pan to cool overnight.
Retrieving your recycled crayons
Once the crayon wax has cooled, flip the pan upside down and firmly pat each individual section. You should find the crayons simply slide right out of their mold leaving minimal residue. If you have stubborn crayons that are difficult to remove front he pan, place the pan in the freezer for 15 minutes before trying again.
After admiring your new crayons, grab a piece of paper and test each crayon. Good as new.
The beauty of this process is that once your recycled crayons get too small to use you can, in turn, melt them down into new crayons again. You can even use this technique on brand new rainbows, melting them down into fun shaped rainbow crayons for your children.
Here is a video that quickly covers the whole crayon recycling process.
Have you ever recoiled crayons? Let me know below if you found the experience worthwhile.
Related Resources
Remove crayon stains from carpet
Removing crayon wrappers
More uses for old crayons