How I Got my Baby to Nap Independently Using These 5 Tips
Published 2025-12-14 · Last reviewed July 2026
This is information, not medical advice
Always follow guidance from your own midwife, GP or paediatrician.
In the early days sleep can be hard to come by, and if you were like me, you take it in whatever form you can get. Often with N, this meant that all of her daytime snoozing was done on the warm and comfortable chest of mom or dad, latched on for a ‘boob snooze’, or in some kind of baby wearing device (for me this was my beloved Baby K’tan). Now don’t get me wrong, I wouldn’t trade those teeny-tiny baby snuggles for the world. Is there anything better than having a newborn sleep in your arms or while tightly wrapped to your chest? But after a few weeks, or months, go by you realize that your baby will only nap with another warm human body and it's time for a change.
Disclaimer: this post contains Affiliate Links. Read about what affiliate links are and how we use them here.
These ‘snuggle naps’ are important for bonding between mom and baby, and maybe even more important for bonding with dad. I want to emphasize that you can and should indulge in these naps in the early days, but at a certain point you realize that you want to support your baby in napping independently, and furthermore, you want that independent nap to have some length to it. Maybe you’re here because you realize you want to use baby’s sleep time to get some stuff done around the house, take a shower, spend time with your other littles, sleep yourself or just, ya know, not be trapped under a baby who is finally napping! Let me talk to you about strategies that helped N to become an independent napper by about 10 weeks and how we lengthened that independent nap from about 10 minutes to 40 minutes and longer.
What is important to remember here is that this will take some time. Unfortunately, I cannot tell you to take your magic wand, say these words and your baby will nap, and I doubt there is a quick fix out there that will make this happen (with any longevity that is). What I can tell you is that with consistency and using these tips, you will start to see your baby’s naps improve.
5 Tips How to Get Babies to Nap on Their Own
1. Tired signs / Awake times
Without a doubt, the thing that made the biggest difference in nap success was making sure to start the nap process during N’s sleepy window. Once you know how to identify your baby’s sleepy window, anticipating it before it happens and starting nap time is the ideal method to getting that independent nap. During N’s first month or two with us, there were days when she would be awake for 5 to 6 hours at a time. Looking back, she was being overstimulated and becoming overtired, making sleep even harder for her to come by. Because I was letting her fall asleep nursing or when snuggling on us whenever it naturally happened, I’d never really learned her tired signs.
When I knew I wanted to start getting her to nap on more of a “schedule” (I use this term loosely, especially for a young baby), I started really cueing into her needs and offering sleep opportunities at predictable times. I cannot give you a formula for this, because there is a wide range of normal for awake time and sleep-needs. What I can tell you is that for N, at 2 months old, it was essential to try for the first nap 1 hour after waking in the morning, and that she was never awake for more than 2 hours at a time. Once you miss this sleep-window, your baby will appear to be suddenly awake and unable to wind down, prolonging the nap even more.
How did I figure this out? Let’s talk about tired signs. The first sign your baby will give is disengagement. Is your baby staring off into space, avoiding or breaking your gaze, or fixated on something with glazed eyes? This is your baby’s way of showing that they are needing a break from stimulation and it is time to help them find a space to decompress (i.e. nap). Often nursing and snoozing with mom can provide this, but remember! Our goal here is independent napping. So, when you notice this it’s a good idea to go try a nap in the prepared environment we will discuss below. More obvious signs will be yawns, ear pulling, finger sucking (or some other self-soothing method) and finally crying or frustration (this would look like throwing things or low attention span in an older baby/toddler). Like I said above, the sooner you catch the nap-readiness, the greater success. This will take some time and observation on your part.
The last piece of this tip is to keep a log. You will notice a pattern in your baby’s tired times throughout the day, even in the beginning. Sure, there will be days where they sleep a lot less or more, but once you can figure out a pattern you will be able to help them get that independent daytime sleep they need and when they need it. Trina has a good post on customizing your baby’s nap schedule.
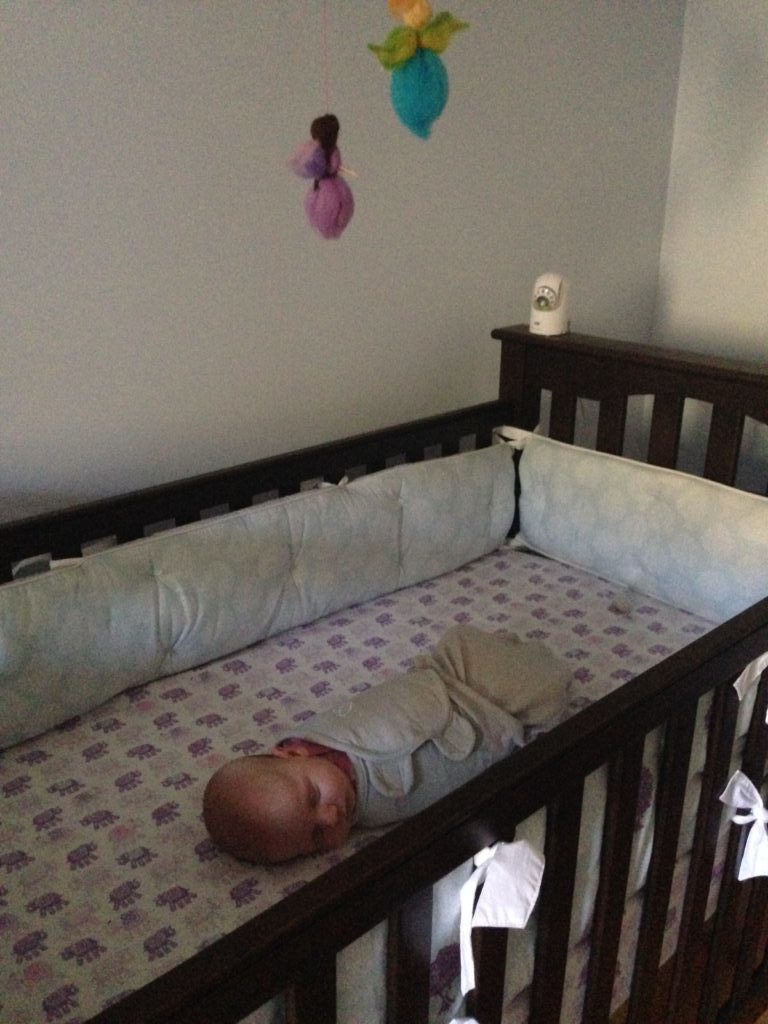
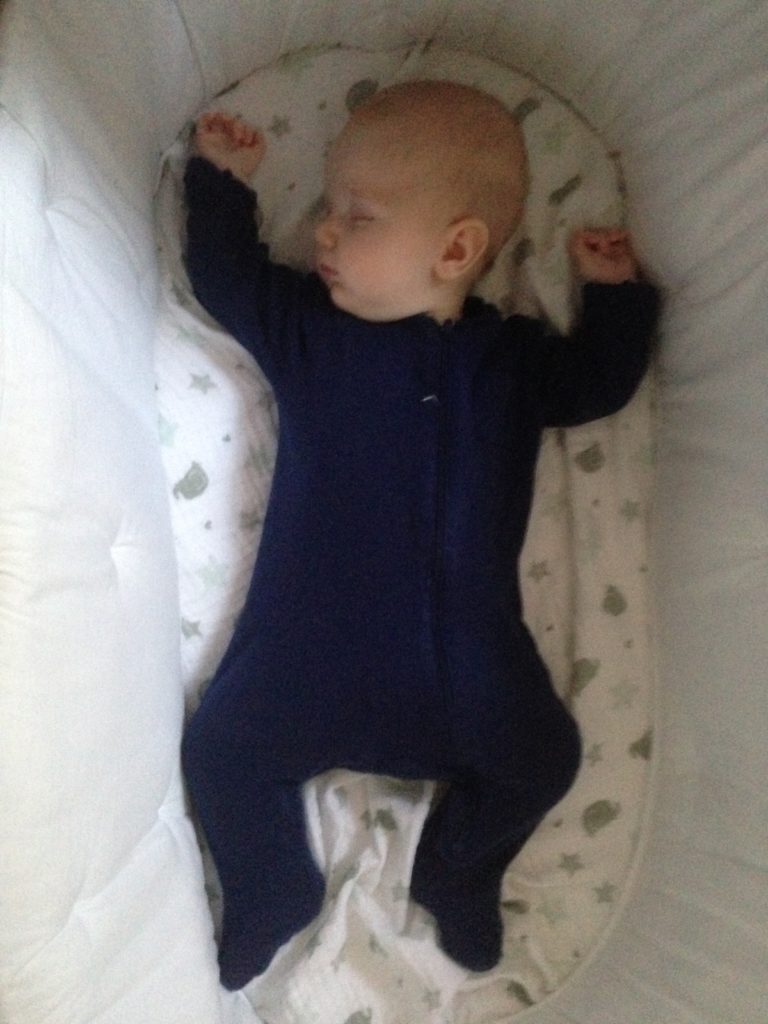
2. Sleep environment
Your goal should be to have your baby sleep in the same space as often as possible. In other words, if they are in your room in a bassinet at night- that’s where the naps should be. If they are in their own room in a crib- that’s where the nap is. You get the idea. I know that life happens and naps are going to sometimes need to happen in the car, carrier or stroller, but while you are trying to establish good nap hygiene for your little one, commit to it for a few weeks and do everything you can to be home when you anticipate your baby will need to sleep. Predictability for your baby means that they can get into the nap groove and will not become too stimulated, thereby foregoing sleep, when they otherwise might have napped.
The environment should also be as close to it is at night as possible. Get the blackout curtains! Don’t believe me? Try taping black trash bags over the windows and you will be shocked what a difference darkness makes. I didn’t realize how much this would help with N’s nap until I experienced it myself. A dark room will go a long way because light is essential to helping our brains know that it is time to sleep.
In addition to darkness, I do recommend a sound-machine, especially for a young baby. Not only are they used to white noise from being in the womb, but it will also help drown out any noises around the house that will prevent them from napping longer or bridging between sleep-cycles. Like the curtains, I didn’t start using a sound-machine until I got serious about naps, and it really made a difference for us. I know that some babies are unable to sleep with white noise and need absolute silence. So, if you are currently using white noise and it’s not working, switch it up! You never know.
For more information about setting up a sleep environment for a baby head on over to Trina’s article on the perfect sleeping environment for some excellent tips beyond these naptime essentials.
3. Bedtime and Nap Routine
Before you can really do a naptime routine, I highly recommend having a very set and predictable bedtime routine for your baby that will then be abbreviated for nap. If you don’t have a bedtime routine yet, you can read about the bedtime routine Trina uses with L. Assuming that you have a routine already, take the bedtime routine and do a mini version of it before every nap. I realized the importance and effectiveness of this with N when she needed a daytime bath due to a particularly bad blowout one day. You see, since N was very young, bath time has been the start of her bedtime routine (and still is!). After that daytime bath, I remember being shocked at how easily she went down and by how long she slept for a nap. I realized that it was such a strong sleep cue for her that it worked during the day too!
Now, it is obviously not practical to bathe your baby before every nap (ha), but you can still create strong sleep cues. For us that means we change the diaper, turn on her lamp and sound machine, say night-night to things outside the window and close the curtains. Then, we sit in the chair with her lovey and read one book (at night it’s many books), nurse, and then nap. Did this happen the first day I tried to nap her independently? Of course not! I have built up to this and figured out what worked for her.
When N was young, we were completely reliant on the to get N to sleep. After nursing in the chair, I would swaddle her and bounce her on the yoga ball until I saw drowsy, heavy eyes and then put her down. If it didn’t “take” as I like to call it, I would pick her back up and try again, and again, and again until I could walk away and she’d continue to doze. You just need to figure out what works for you. Whatever the last step before sleep is, just make sure it is consistent and your little one will start to associate it with being put down to sleep, alone.
If you are nursing her to sleep, I recommend gently breaking suction with your pinky finger when you notice them starting to drift off so that you are aiming to get them into their sleep space drowsy, but awake. If they become frustrated or start to cry, it is fine to continue to nurse. Do what feels comfortable for you, and then just try to put them down again. Which brings me to the next point…
4. Don’t give up!
There were days where I felt like my entire day was literally spent getting the baby to sleep. “Ping pong” between nursing, bouncing on the yoga ball and putting her into the crib. But I kept at it, and it paid off! It was essential to me that N sleep independently. I am a busy-body and I needed that time for me. If you are here reading this then you probably feel this way too, and you deserve this. It is going to take effort and time to make it happen. If you start to give in, or don’t make being home and doing the routine a priority (especially in the beginning) you will not see results. There are days that you will feel frustrated because they wake up every time you put them down or are about to close the door to their room, but if you follow these ideas, you will see your baby begin to nap independently. Keep re-settling them and attempting to put them down, it will start to stick. The caveat here of course is if you are getting frustrated to the point where you feel anger then leave and reassess or try again tomorrow.
5. Tips for the ‘transfer’
By far the trickiest part of getting my baby to sleep on her own (nap or night) was what I like to call “the transfer”. You know it well. That moment where baby leaves the warm and cozy spot in your arms or against your chest to be placed on their back in their own sleep space. I have some tips:
- Hot water bottle/heating pad- we would fill my hot water bottle up and put it on her little bassinet mattress while I did the rest of the nap or bedtime routine. Then right before putting her down, remove the water bottle or and the space will be nice and warm and cozy, much like your body!
- Keep a hand on baby- when you put baby down keep your hand on their chest while they go from drowsy to (ideally) asleep. This might be just enough reassurance to help bridge the transfer.
- Positioning in your arms- figure out how you can best transfer baby from arms to bed with the least amount of fidgeting/bumping. You are aiming to keep their body as level as possible and let their whole body hit the mattress at the same time. This will take some trial and error but is key. Once you master this, make sure baby is in your arms in this position before you start your soothing of choice (rocking, bouncing, swaying, etc.)
With these tips, and time, your baby will be napping independently in their own sleep space. By creating predictability and setting your baby up for sleep success you will see improvement.
PART 2: 4-6 MONTHS
Sleep is about to change A LOT, and it seems it is about to take a turn for the worst as the first sleep milestone is here at 4 months. Your baby will no longer be able to sleep anywhere or at any time. However, understanding how their sleep is changing and what you can do to help them is key for having baby take quality naps. Good naps equal a happy baby and a better night’s sleep.
1. Four Month Sleep Regression
All babies undergo a sleep milestone at 4 months. At this stage, baby’s sleep is starting to change. Babies have more adult-like sleep and can’t just fall asleep anywhere. Noises may start to wake them at this point. The biggest concern here for naps is that naps are now only one sleep cycle (40-45 min) and instead of connecting their sleep cycles, baby wakes up. I have two pieces of advice that together should really improve this regression. The first is to use a because babies can’t be safely swaddled once they are starting to roll and the Magic Merlin Sleepsuit is the perfect transition. It is best used with the ABCs of sleep (Alone, on the Back, and in the Crib).

Related Post: 4 Month Sleep Regression? There’s a product for that
2. Ensure baby is getting full feeding now that the world is “distracting”
My second piece of advice is that at this point, baby has discovered the world around them. They are constantly getting distracted by sights and noises, especially during nursing. A baby who isn’t taking in full feedings throughout their awake times isn’t going to sleep well during naps or during the night. It is very possible that baby is hungry and is waking up from naps early because they didn’t feed enough due to getting distracted. Breastmilk digests in 60-90 minutes, and even faster if they didn’t get a full feeding and instead got mostly foremilk (the watery milk, not the fatty milk). An indication that this might be what is happening is green poops. While this isn’t always the case, if you are seeing green and frothy poop it is likely an indicator that they are not getting to the hind milk. You should try to help them nurse for longer periods of time, or not switch sides too soon. You may also want to offer the same side twice if they take a short break between nursing sessions to help them get to the hindmilk. I highly recommend the. This cover will allow you to see baby to latch baby, and keep baby latched, but will block out the rest of the world for baby and allow him or her to focus on nursing. Getting in quality feedings is a must for great naps.
3. Transition to Crib without creating crib fear
While it is mentioned in 0-4 months old, this is where sleeping environment really starts to matter. As I have already mentioned, baby can’t sleep anywhere and really needs a good sleeping environment. Hence, a lot of parents switch to a crib if they haven’t already at this point. Baby has discovered the world and needs to be able to be in an environment conducive to sleep, an environment, which isn’t overstimulating or scary.
If you get nervous when putting baby to sleep about whether or not they will actually sleep and this leads to you inwardly panicking, then you are creating a problem. Baby will pick up on this very quickly and start to associate the crib with fear. Instead, make sure you smile and talk to baby happily. Don’t whisper instead talk in a soft happy voice. After a nap when baby wakes crying, try not to come in with a worried look and voice. Again, greet baby with smile and warmth in your voice.
Some parents also find it helpful to have some happy awake time in the crib before making the transition to sleeping in that space. This helps your baby associate the crib with safety and comfort. You can work this into your schedule at any point during that day. Another idea is to use the same sheets from their previous sleep space, or sheets that smell like mom and dad.
Related post: The Perfect Baby Sleep Environment
4. Chart/log sleep as a schedule begins to emerge
At around 6 months, most babies are very ready for a schedule. Around this age is an excellent time to start charting your baby’s sleep, especially for naps, to watch for a pattern to emerge. At 6 months most babies actually do better on a sleep schedule. Predictability is key for little ones as they approach toddler age. I talk more about this and routines in Part 3.
Related Post: How I Set a Nap Schedule Based on Baby's Individualized Sleeping Needs
5. To lengthen naps: Wake to Sleep Method
Sometimes the easiest way to break short naps is to help baby lengthen them by actually waking baby before they would typically wake from the sleep cycle. Now, when I say waken, I mean barely stir. Their eyes shouldn’t open, they should stir. I did this and was able to turn L’s 40 min naps into 3 hours. The basic idea is that 15 minutes before they are supposed to wake, you gently stir them. Again, this does not mean to fully wake them. If they just stir, it should reset their sleep cycle and continue for another 40-45 minutes. This method is known as “wake to sleep”. I used both this method and also a revised version on days where I couldn’t get L to focus on nursing. On these days, I actually nursed L 30 minutes into her nap. I pick her up while she is still sleeping and nurse her. Basically, a dream feed to help with nap length. She would then sleep for much longer. It was so much easier to nurse my sleeping baby in a dimly lit room than having a short nap. I could wait until L woke up and then nurse her and see if she would fall back asleep, but then I had to try to get L to go back to sleep after fully waking up. I also then stocked her up on lots of milk in the day by getting in these extra feedings during her naps which led to better sleep at night. If you are worried about creating a sleep crutch or want to know when/how to remove one, see Part 3: 6-12 Months.
Part 3: 6-12 Months
1. Ready for a very predictable schedule
As baby reaches 6 months, most babies at this age are ready to follow a schedule. In fact, if sleep isn’t going well and baby is taking short naps, a schedule will most likely fix this. In particular, most babies follow a 2,3,4 nap schedule (wake up – 2 hours awake – nap – 3 hours awake – nap – 4 hours awake – bedtime). However, it is important to follow your baby’s own individualized sleep needs so we have put together a sleep worksheet to determine the perfect nap times for your baby, which you can get by subscribing using one of the forms on this post. No one loves routines or predictability more than a toddler. As the year continues, you will find that as your baby gets closer to the 12 month mark, they too will start to love predictability.
Better naps will start to emerge after creating a schedule. A schedule allows the body to start producing “sleepy hormones” at the same times every day, making it even easier to get your little one down for a nap. Additionally, once baby is on a schedule, you can better plan your day so you’re home for nap times. This might seem more restrictive, but really it isn’t because your baby will be sleeping so much better.
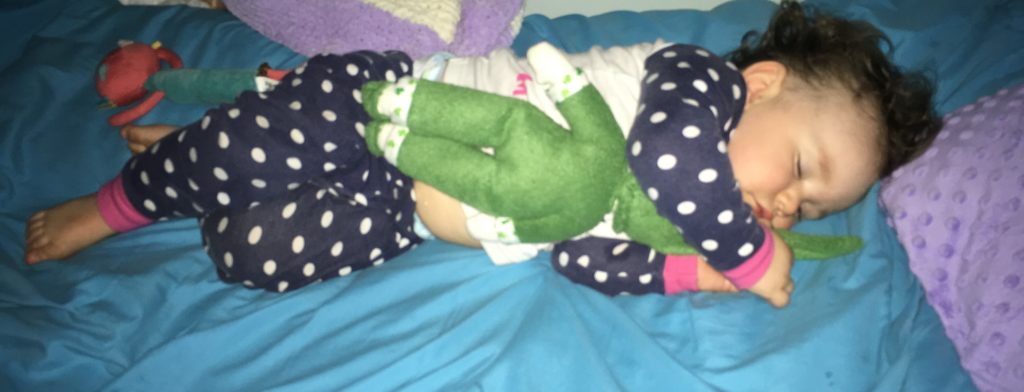
2. Avoid Hair Pulling
I put this one in here because this is one thing I didn’t do. L started to play with my hair during nursing sessions around 6 months. I thought it was cute and it didn’t hurt so I couldn’t see the problem. As in the picture you can see L asleep and holding my hair. As a first time mom, I couldn’t have predicted the problem because I had no idea that this age is a sensitive period for attaching to a lovey. If you don’t provide a lovey, then they will pick one, like your hair. To make a long story short, at some point, L couldn’t fall asleep without twirling my hair in her fingers. I eventually got her to switch from my hair to twirling her own hair while falling asleep by just continually putting her hand in her hair and keeping my hair out of reach. But still to this day as a toddler, she LOVES my hair and now that she is big, she can really pull and it can hurt. So learn from me, don’t let you baby play with your hair. Best is to keep it pulled up especially when nursing. If baby is looking for something to do with their hands while nursing, you need to always be nursing with a lovey.
3. How to introduce a lovey
6-12 months is a sensitive period where babies will attach to a lovey if presented with one that appeals to them. I highly recommend introducing a lovey not only to avoid hair pulling, but also because a lovey can help baby put themselves back to sleep, if they haven’t already learned how to do so. A lovey creates independence because a baby can rely on the lovey for soothing during naps and at night. To introduce a lovey, choose three very different options, all of which you can easily nurse with. I suggest getting a super soft small blanket, a small stuffed animal (particularly ones with long limbs or ears that baby can hold and run between their fingers, and trying a blanket with tags on it.
Now, here is the key step. Whenever you nurse baby before naps or bedtime, include the lovey. You can have it snuggle with you. You can use it to stroke baby’s cheek. Allow baby to look at it. You can try to put it in their hands. Continue to try, it will take a while. If one isn’t seeming to work, try another. Don’t give up, seriously, if you keep at it baby will take to one and by nursing with it right before sleepy times, you are creating positive associations with the lovey. Baby associates you and nursing with warmth, security, and comfort. By nursing with the lovey, baby will also associate the lovey with these things. Once baby attaches to the lovey or even before, place the lovey in the crib with baby. Of course, these should all be crib safe and make sure baby is old enough for the particular lovey you pick.
4. Bedtime routine matters
As I have mentioned throughout this section, bedtime routines and a shortened version for naps fit right into your baby’s love for predictability. Bedtime routines should be able to be done anywhere, be under 20 minutes and consistent.
Our bedtime routine:
- Pajamas
- Teeth brushing
- Say goodnight to everything in the room (around 10 items) and close the curtains
- Read the same three goodnight books in the same order (It’s Time to Sleep, The Going to Bed Book, and Goodnight Moon)
- Turn on the noise machine and the night light.
- Turn off the main light and nurse with our lovey.
Our nap time routine:
- Pajamas
- Close curtains
- Read the same 3 goodnight books in the same order (It’s Time to Sleep, The Going to Bed Book, and Goodnight Moon)
- Turn on the noise machine and the night light
- Turn off the main light and nurse with our lovey.

*I do not include a bath in a bedtime routine and highly recommend that you don’t either because research shows it can damage baby’s skin. Over bathing can lead to dry skin and skin conditions such as eczema and even cradle cap. New research is showing evidence that the development of eczema is based on environmental factors such as excessive bathing of infants. The condition can be treated by topicals but has no cure and can sometimes last through adolescence and adulthood. Additionally, starting at birth and for the first three years of life, a layer of good bacteria is trying to become established on the skin to not only protect the skin from bad bacteria (pathogens) by not letting the bad bacteria attach onto the skin but also the bacteria actually breaks down oils from your skin and turns them into moisturizers. The by-products from this process then help to regulate both the pH of the skin and the oil production. American Academy of Pediatrics recommends 1-2 baths a week. If you absolutely must bathe your child every night, do not use soap and shampoo every time. I have included references at bottom of the post. The University of Utah does amazing research on the amazing benefits of good bacteria such as the ones I point to here. Their interactive link allows you to explore bacteria and the body.
Related post: Baby Bedtime Routine: First Step to Nurturing a Good Sleeper
5. Remove bedtime crutches
I include this in the 6-12 month category because you need to have really worked on a lot of things before being able to effectively remove bedtime crutches and not feel like you are constantly taking one step forward and two steps back. First, it is okay to have a crutch for as long as you need it, until you and your baby are ready to omit it. I have a rule of ‘try for three nights’, if it isn’t working wait a few weeks and try again. Babies not only change quickly but also teething, sickness, growth spurts and wonder weeks all could make a sleep change look like a failure when really you just need to try again in a few weeks.
When I say sleep crutch, I am talking about “only falls asleep” items. This could be on me, bouncing on a yoga ball, in the rocking chair, nursing, or if I am in the room. To start this process, you first need to ensure you have taken these prep steps.
Preparation Steps to Removing a Bedtime Crutch:
- Make sure baby has a lovey, if not start using one now.
- Make sure baby has a sleep schedule/routine.
- Now, once the only issue is the crutch. You start to slowly remove it by giving baby the crutch, but every time they get the crutch they get it for a shorter interval.
Here is an example of what your bedtime would look like if your crutch was rocking in a chair:
- Rock baby in the chair while counting in your head to 60 seconds.
- Place baby in the crib with lovey and say goodnight in a happy soft voice.
- Leave the room and listen.
- If baby fusses, go back in and pick baby back up.
- Repeat from the beginning but this time only do 30 seconds of rocking.
- The next time only do 10 seconds.
- Continue with 10 seconds until baby falls asleep in the crib when you leave.
- After a few days of this, baby will start to fall asleep after the first try.
A note on nursing: if your crutch is that your baby only falls asleep nursing, then it is hard to have baby on and off the boob that much. If you try the above steps and it isn’t working, another option is to create another crutch to replace the nursing crutch. The other crutch needs to be something that is easier to remove, such as rocking or bouncing. Additionally, after nursing baby, you can hand baby to dad and have him rock baby to sleep. Once that becomes baby’s norm, dad can slowly follow the above steps. If you think your partner is up for it, I recommend that method because dad won’t smell like milk.
While this is a post that is focused on naps. The same method can be used to remove crutches from wake-ups in the night. Essentially, give less and less of the crutch and it should remove itself. Once you have removed the crutch to where it only takes a back pat or rub, keep lowering your presence. The addition of the lovey will be key here because baby can count on the lovey to fall back asleep. If your crutch is nursing, again follow the same steps where you keep decreasing the time it's given until baby falls asleep. If baby falls asleep and gets up 15-20 minutes later, then baby is most likely hungry. You might have to do this in stages because baby is used to eating at certain times. In addition to doing it in stages where the first night you try going 1-2 hours longer than the usual first nursing, etc. My other suggestion is to do a dream feed at 10 pm so baby clocks their longest sleep time while you are also sleeping.
Other Resources
Alli and I have written a ton about sleep so check out our sleeping section, and if your baby is younger than 4 months make sure you check out Part 1 of this series. If you're having issues with breastfeeding, check out this post about everything I learned from my year plus of breastfeeding. Finally, if your baby is fussy or colicky, read this guide.
References:
http://learn.genetics.utah.edu/content/microbiome/
Did you find this article helpful? Please share it on Facebook or Pinterest, or with your friends and family.